The Best 5 Disposable Cameras for Your Adventures
Disposable cameras are all the rage this summer and here are the best 5 cameras to take with you on your summer adventures!
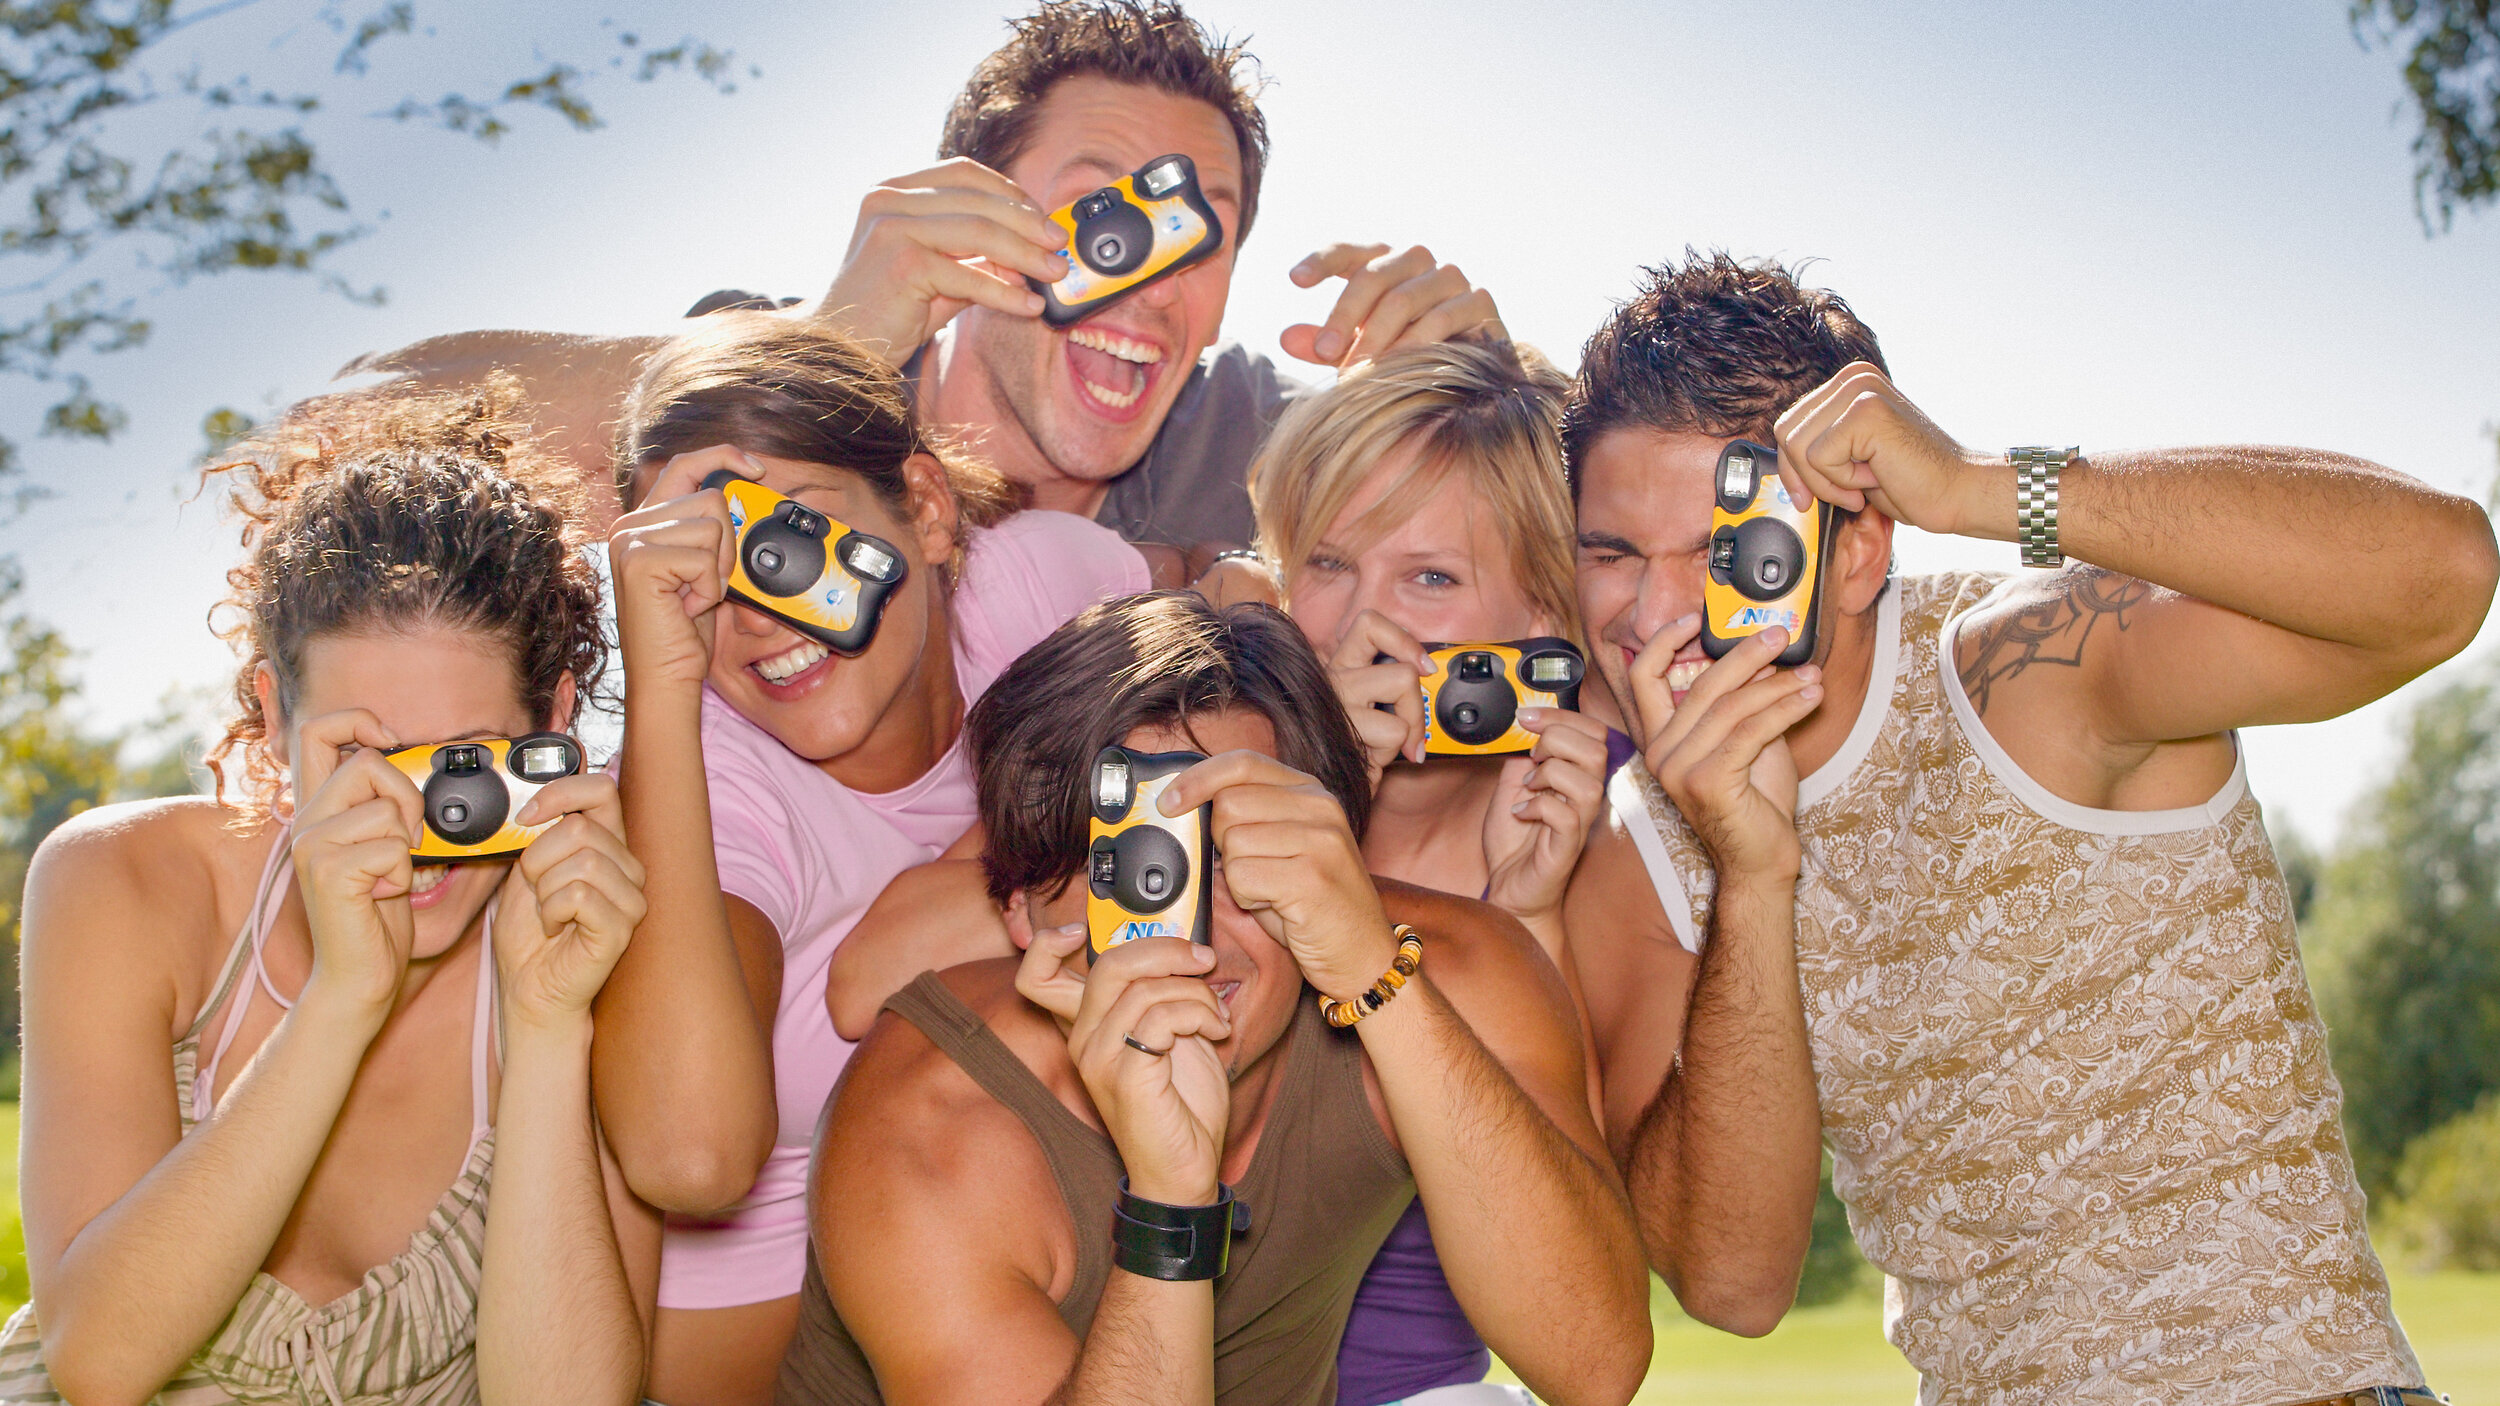
As the summer sun shines brightly and adventure calls, there's no better way to preserve your memories than with a disposable camera. These handy devices combine the charm of analog photography with the convenience of disposability, making them perfect for capturing spontaneous moments without the fuss of digital settings. Whether you’re hitting the beach, going on a road trip, or enjoying a backyard barbecue, here are the top five disposable cameras to consider for your summer escapades.
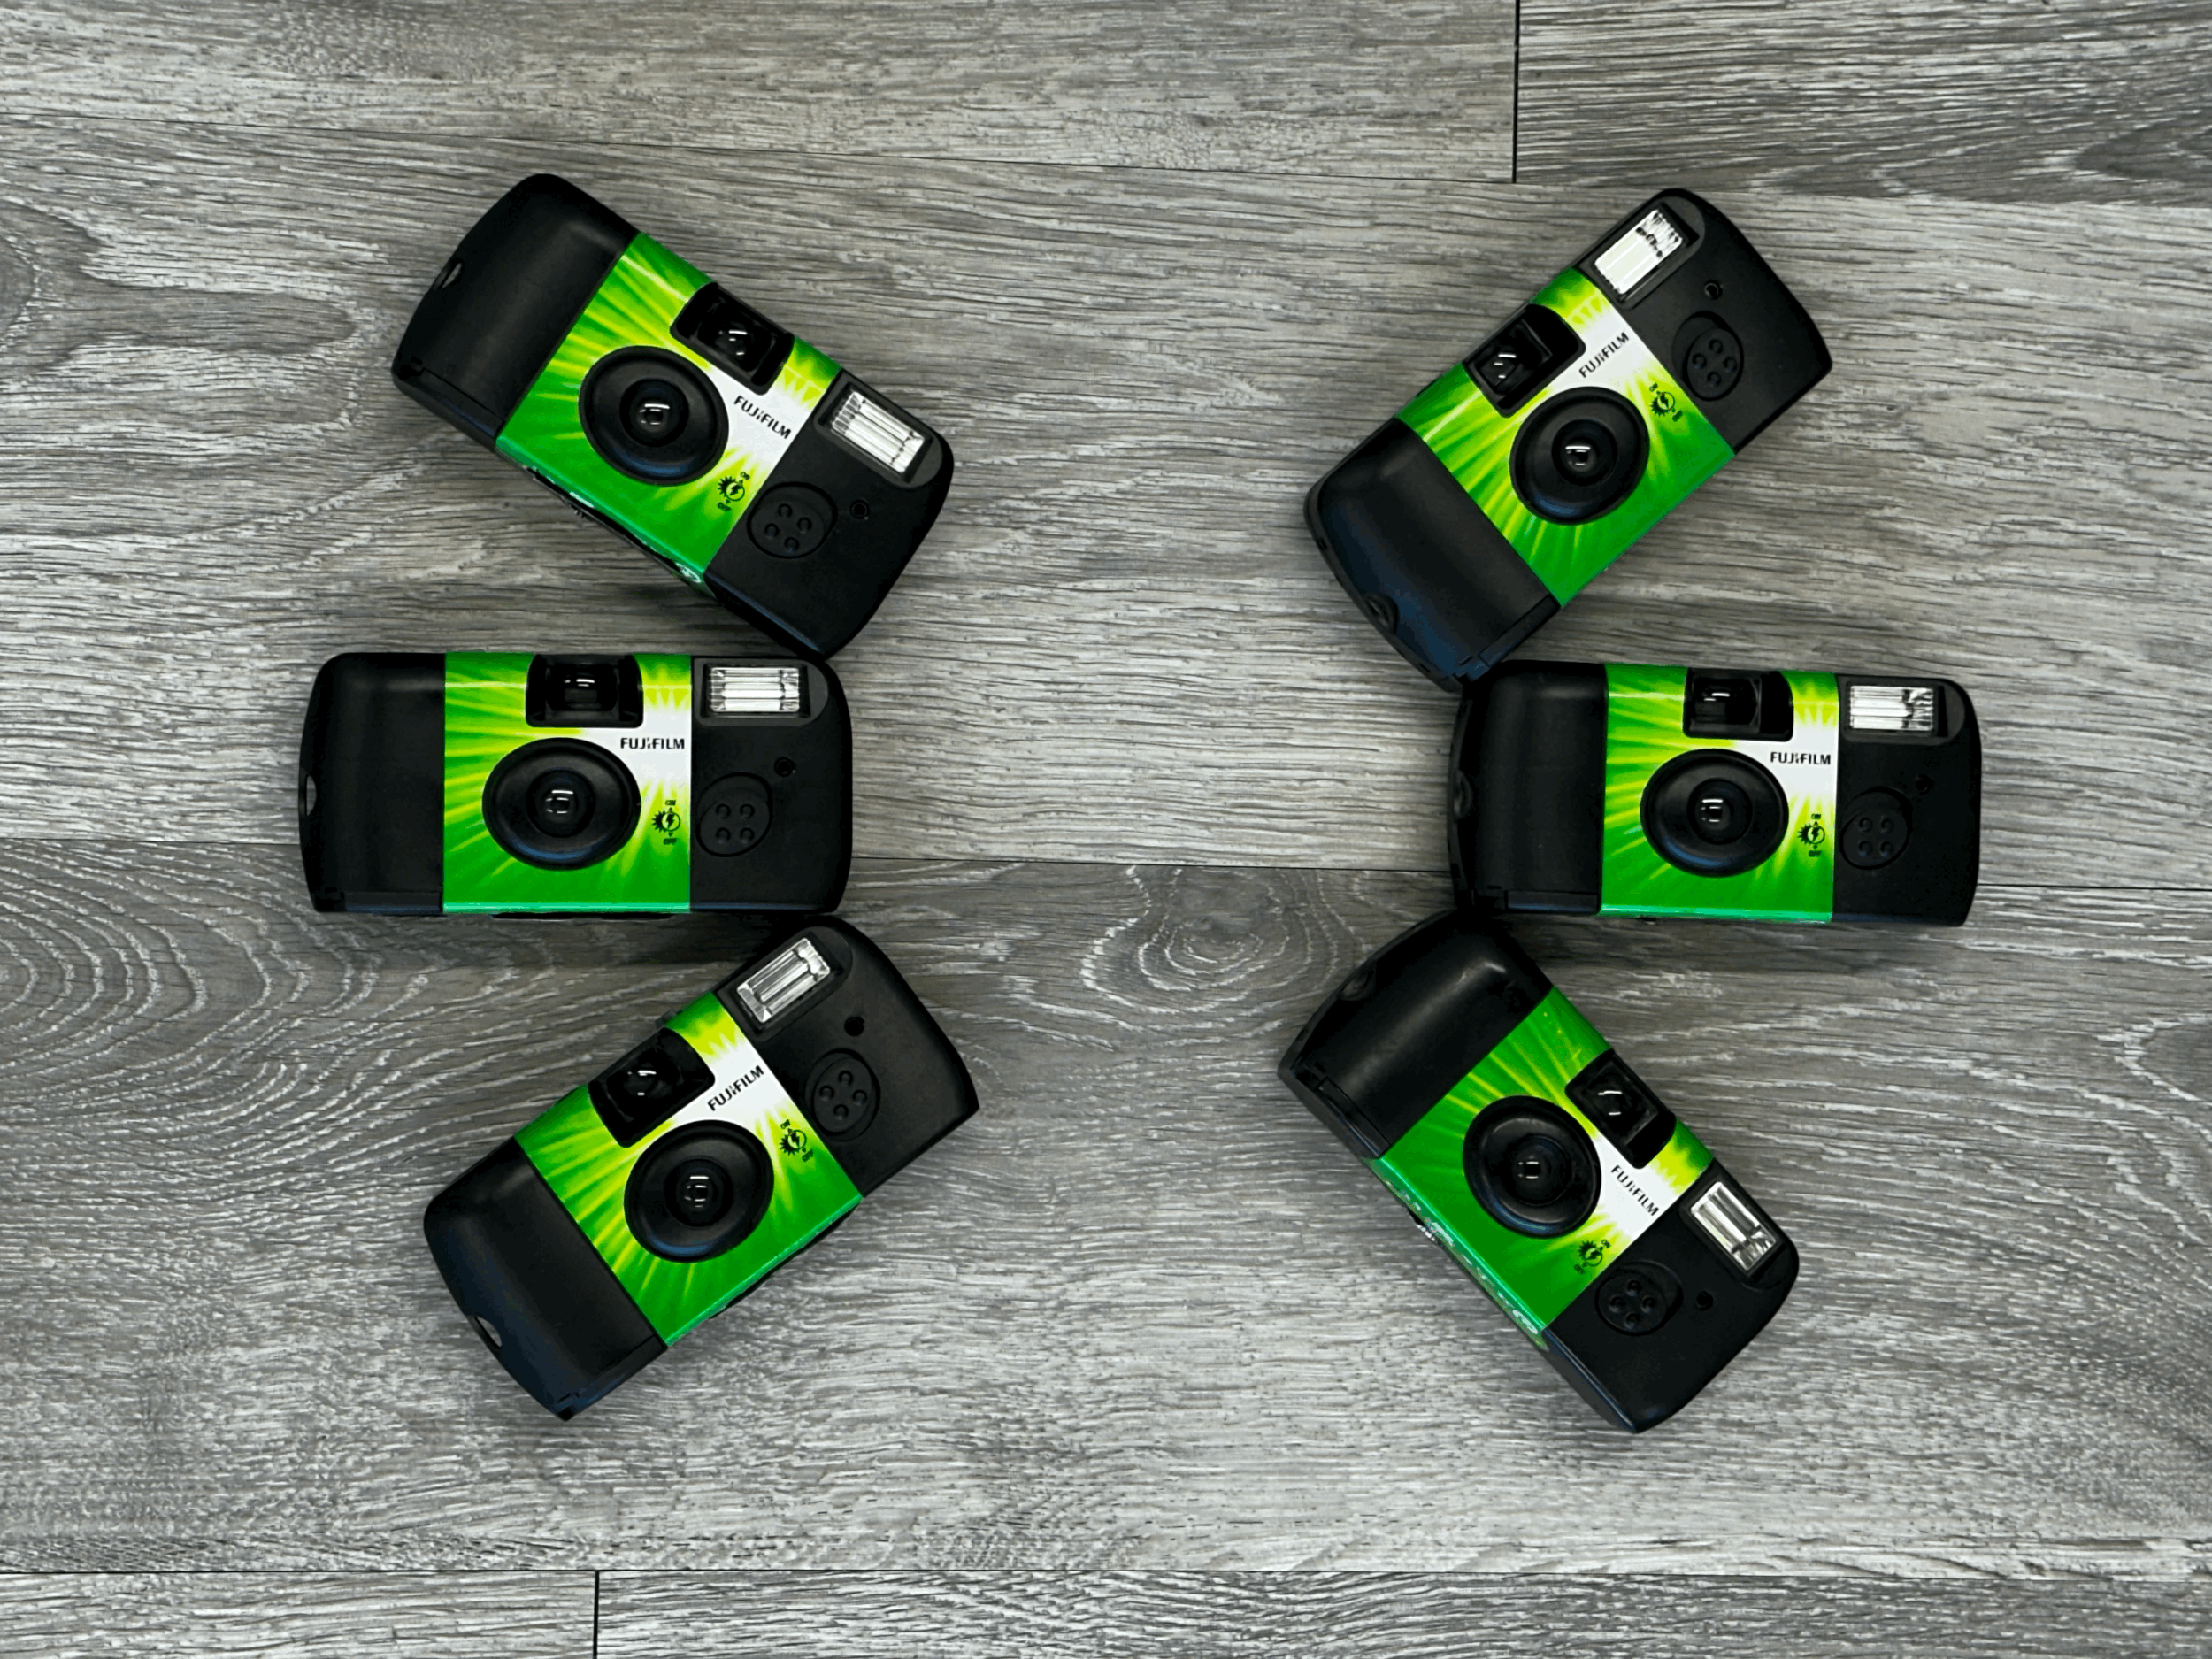
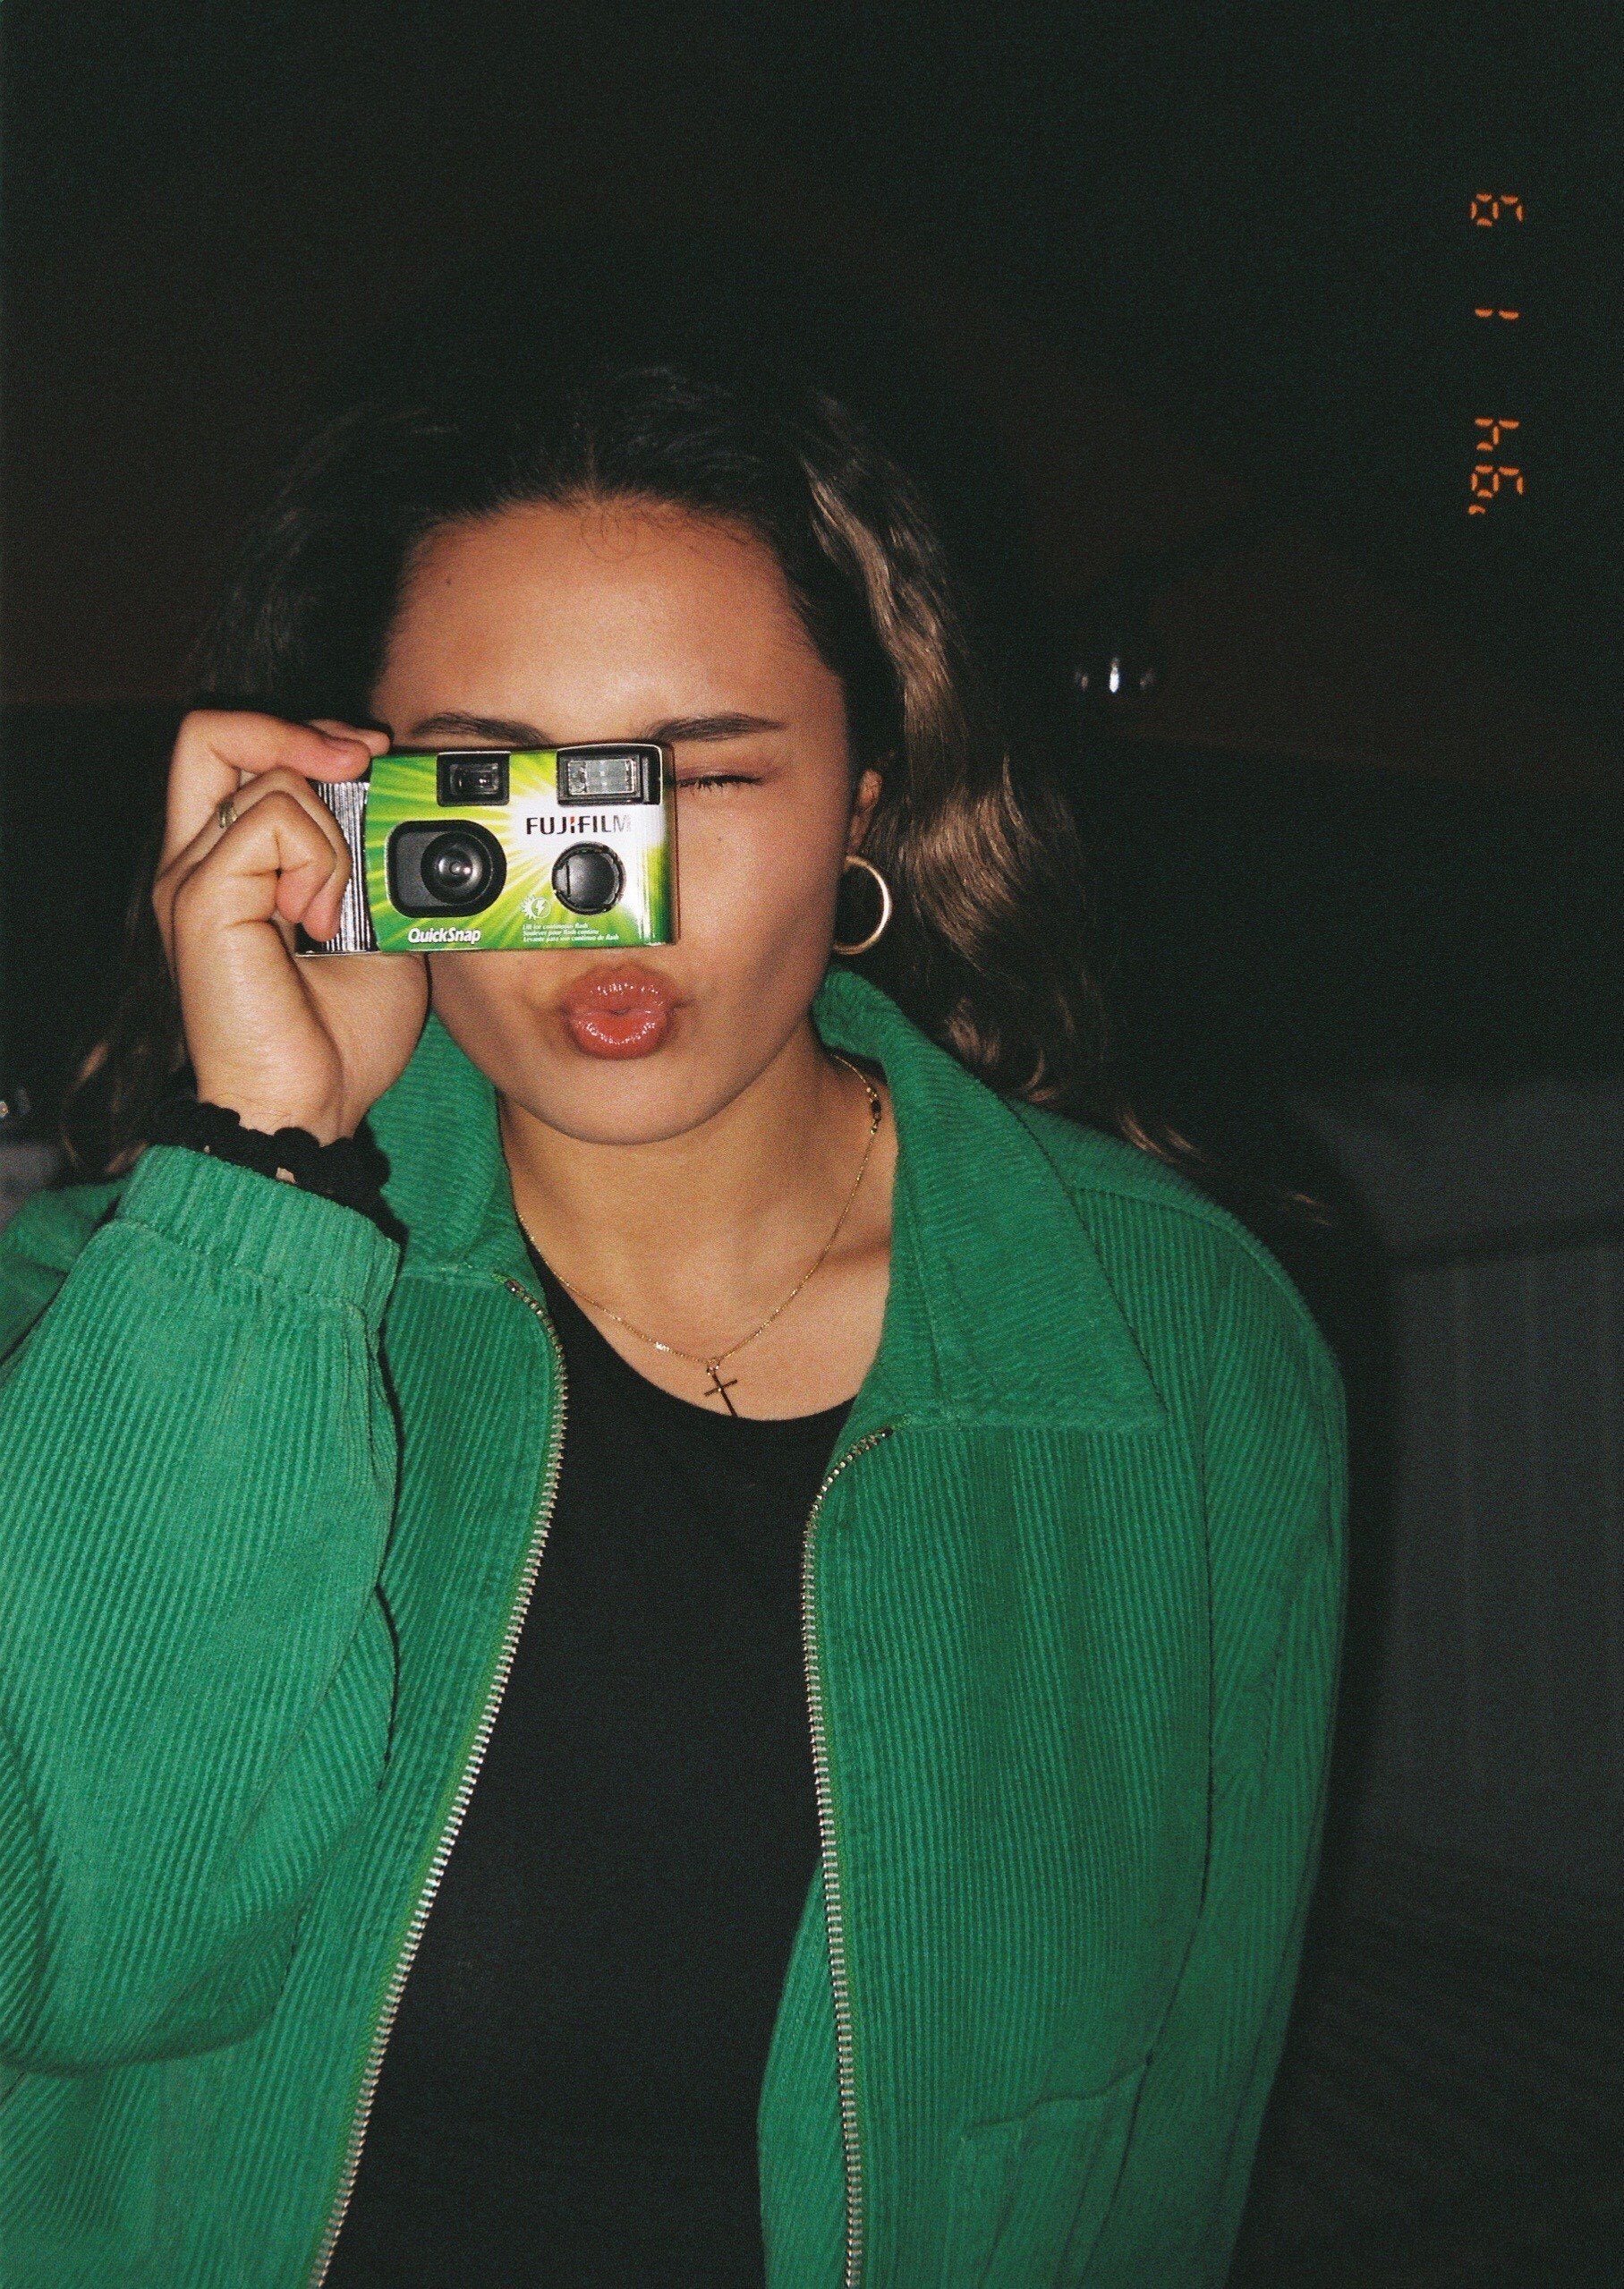
1. Fujifilm QuickSnap Flash 400
Features:
Film Speed: ISO 400
Exposures: 27
Flash: Built-in
The Fujifilm QuickSnap Flash 400 is a staple in the world of disposable cameras. Known for its reliability and high-quality images, this camera is perfect for both indoor and outdoor settings. Its ISO 400 film speed ensures that your photos will be clear and vibrant, even in low-light conditions. The built-in flash makes it easy to capture moments after the sun goes down, ensuring your summer nights are just as memorable as your days.
2. Kodak FunSaver
Features:
Film Speed: ISO 800
Exposures: 27
Flash: Built-in
Kodak’s FunSaver is another top contender, offering a higher ISO speed of 800, which is excellent for capturing action shots and low-light scenes. This camera’s vivid colors and sharp details make it a favorite among travelers and party-goers alike. The easy-to-use design means you can hand it off to anyone, ensuring no moment goes undocumented.
3. Ilford HP5 Plus Single Use Camera
Features:
Film Speed: ISO 400
Exposures: 27
Flash: Built-in
Specialty: Black and white film
For those who appreciate the classic look of black and white photography, the Ilford HP5 Plus is the ideal choice. This camera uses Ilford’s renowned HP5 Plus film, providing rich contrasts and a timeless aesthetic. Perfect for artistic shots and moody summer evenings, this camera will add a touch of elegance to your photo collection.
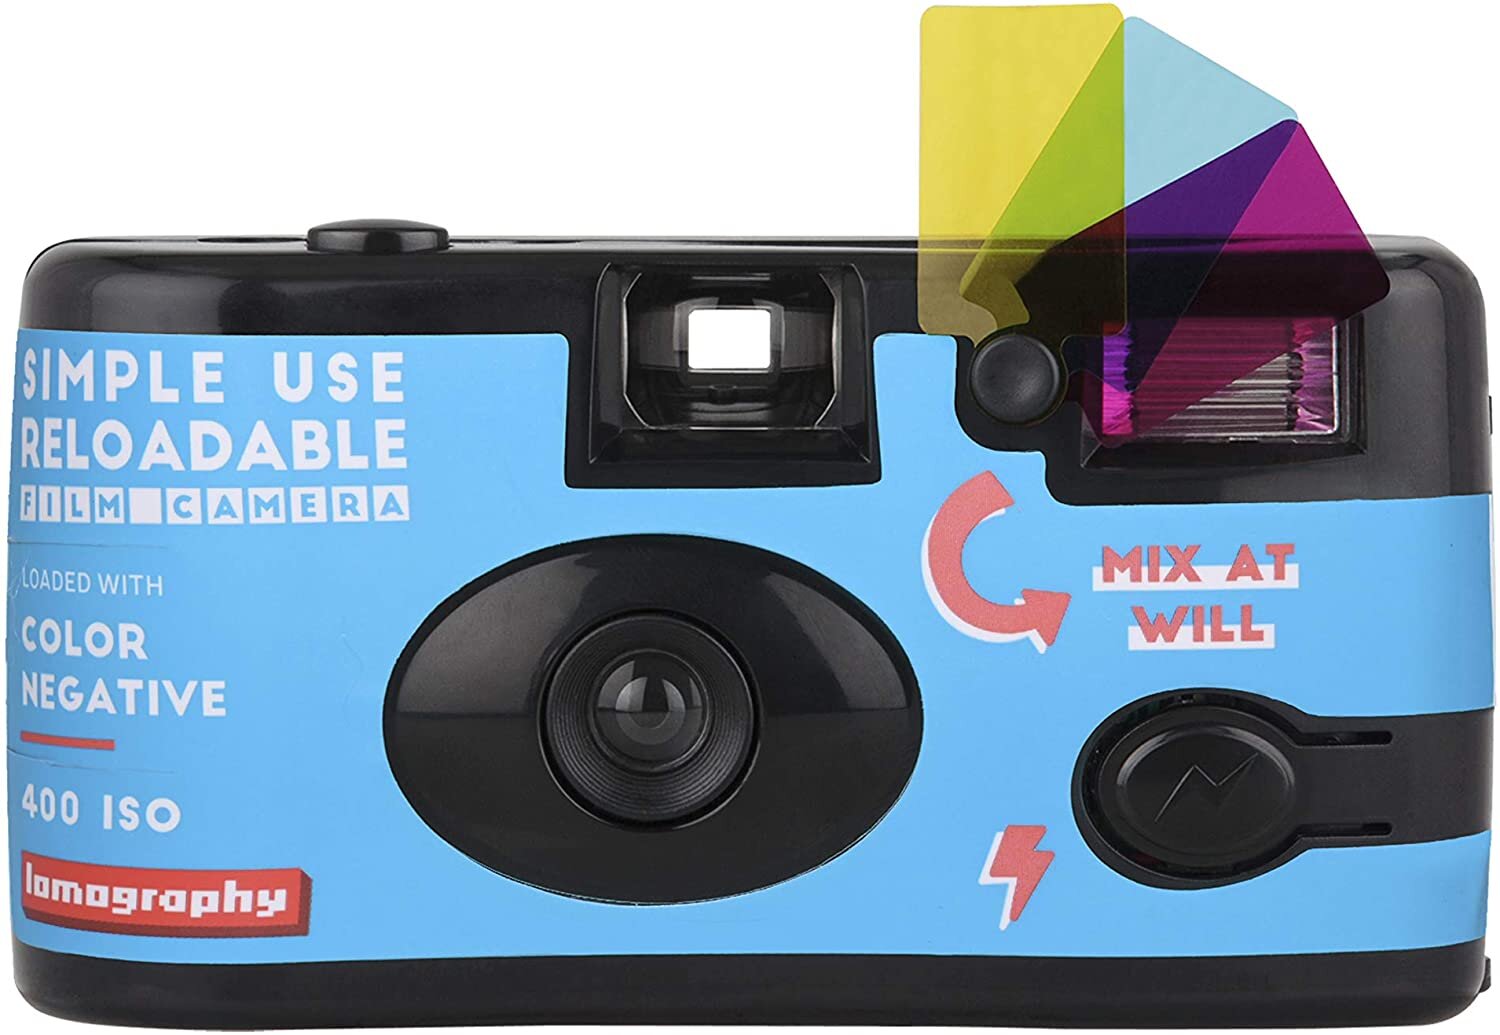
4. Lomography Simple Use Color Negative
Features:
Film Speed: ISO 400
Exposures: 36
Flash: Built-in, with color gel filters
Specialty: You can reuse the camera as many times as you want by reloading film!
Lomography’s Simple Use Color Negative camera stands out with its fun and creative features. It comes pre-loaded with Lomography’s vibrant color negative film and includes three different color gel filters for the flash. This allows you to experiment with different color effects, adding a unique twist to your summer photos. With 36 exposures, you’ll have plenty of film to capture your adventures.
5. AGFA Photo LeBox Ocean 400
Features:
Film Speed: ISO 400
Exposures: 27
Flash: Built-in
Specialty: Waterproof
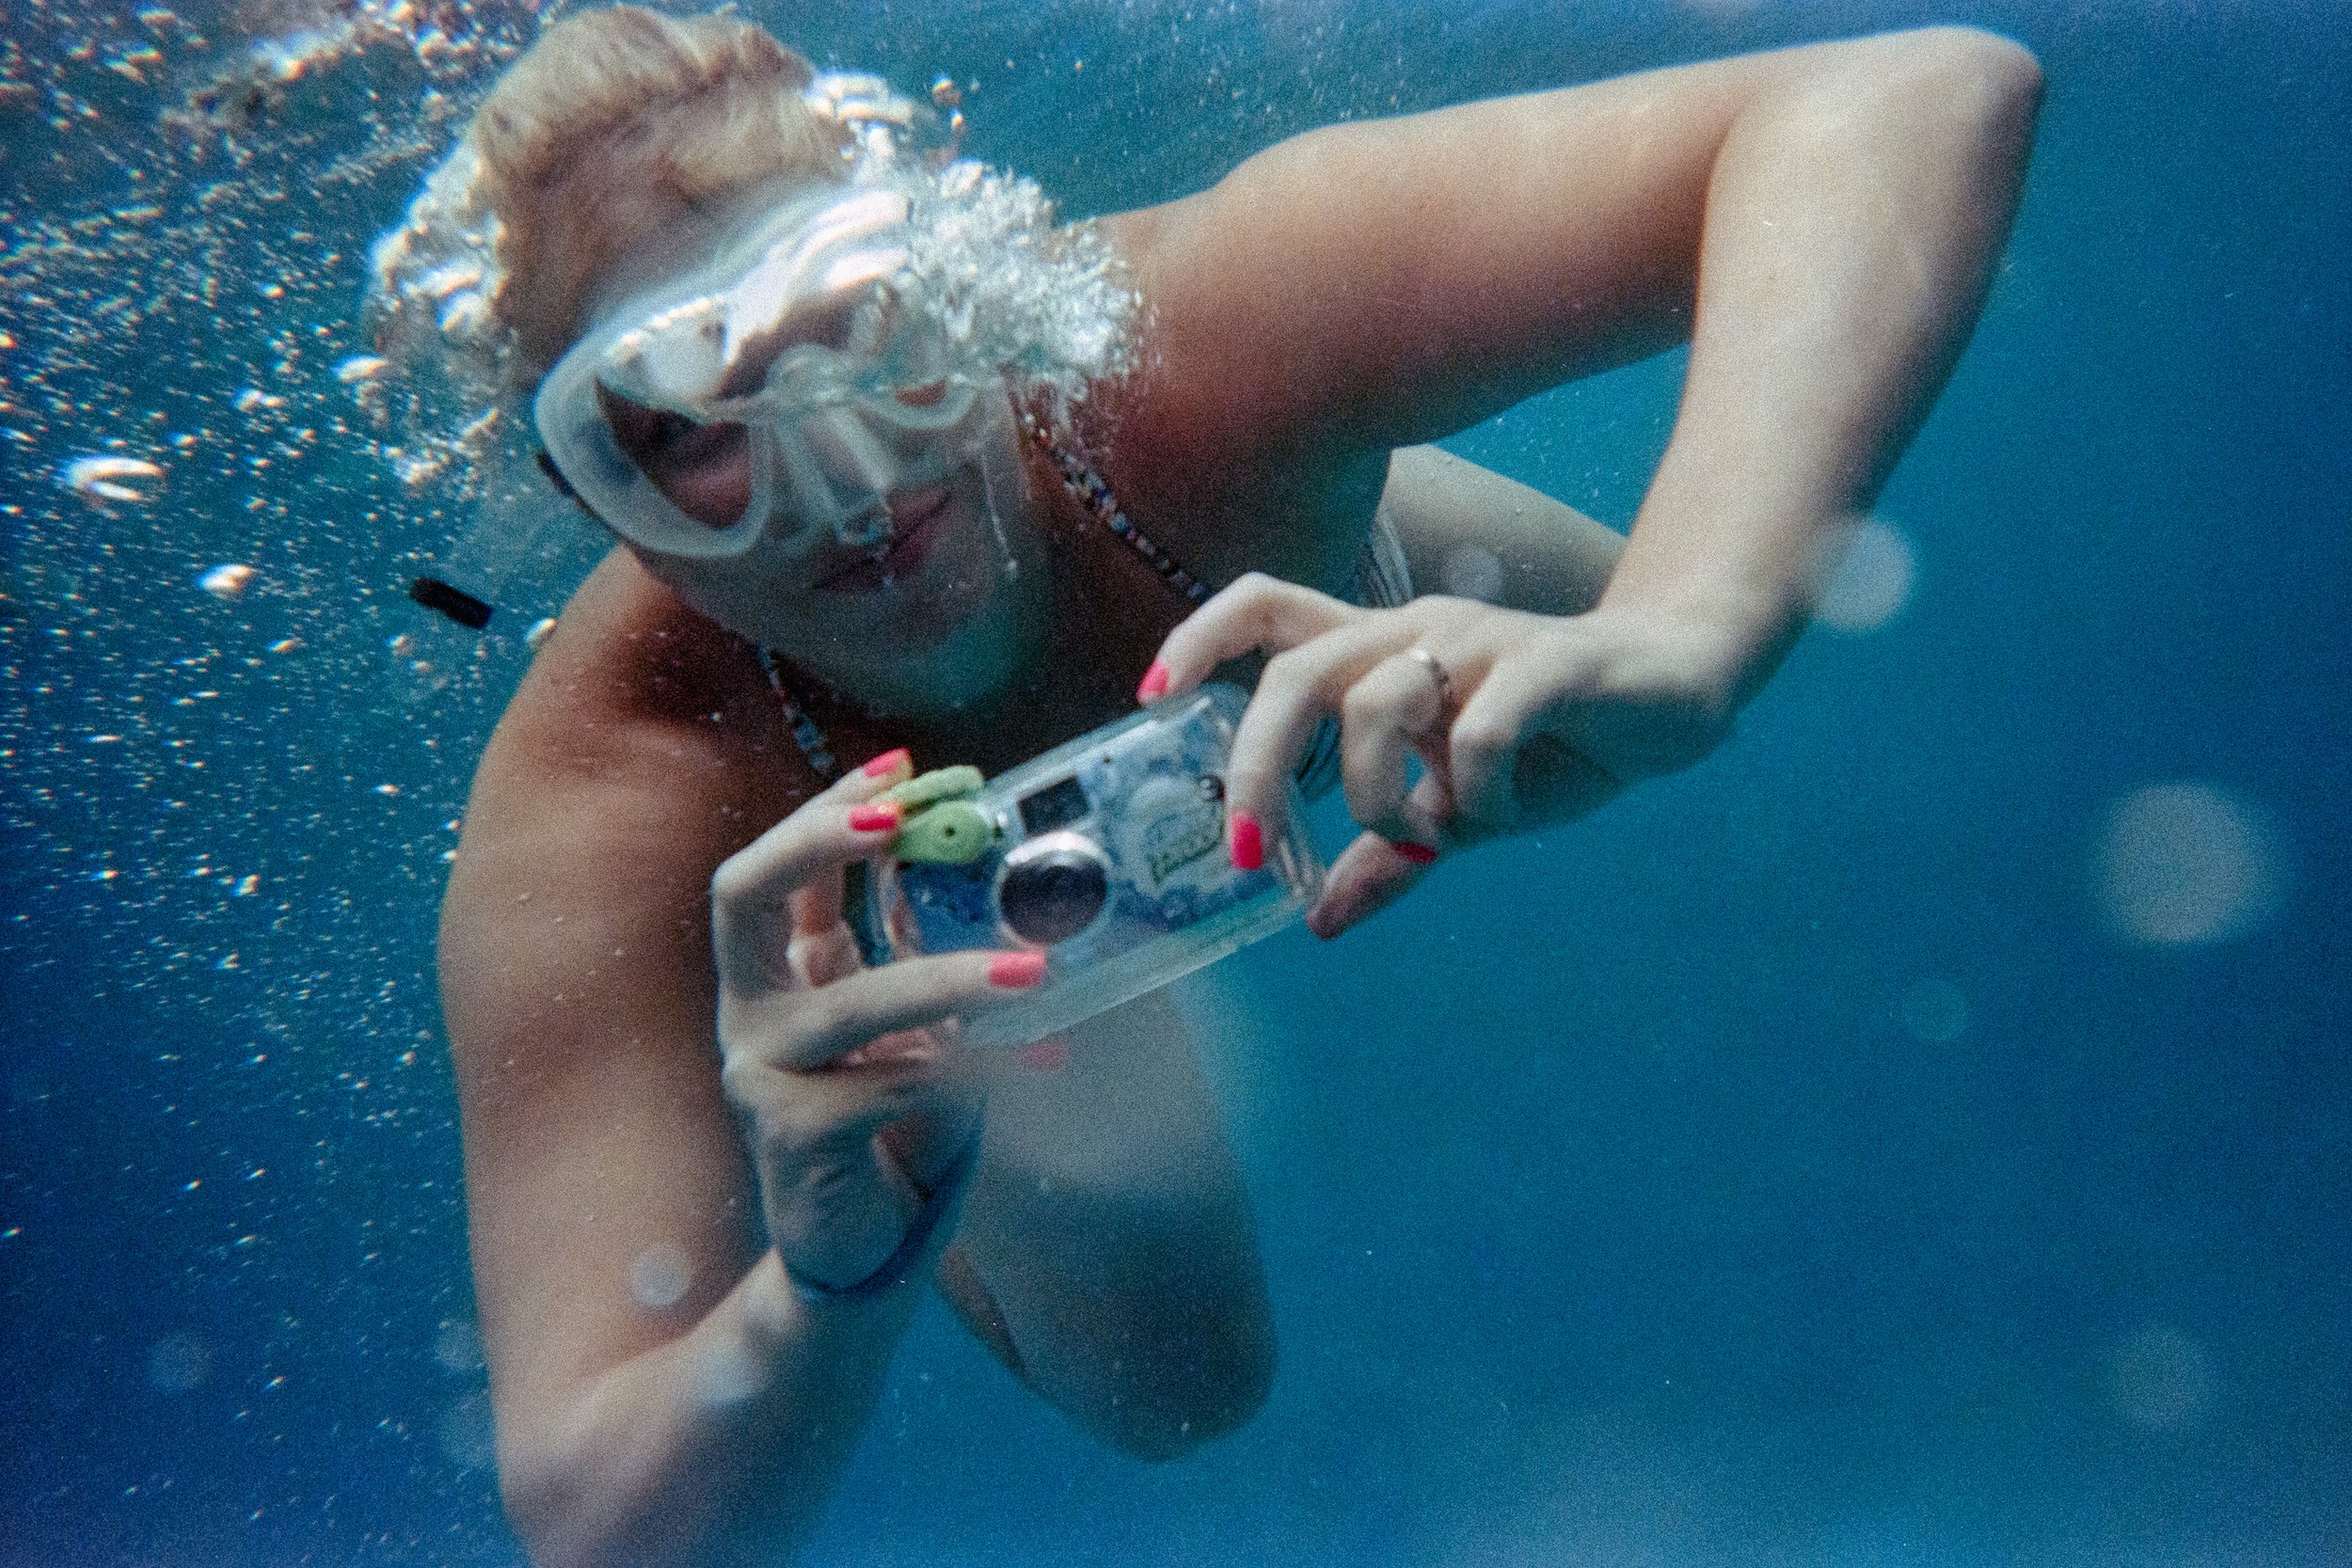
If your summer plans include water activities, the AGFA Photo LeBox Ocean 400 is a must-have. This waterproof camera is designed to withstand the elements, making it perfect for beach trips, pool parties, and snorkeling adventures. With its robust construction and reliable performance, you can capture stunning underwater shots without worrying about damaging your camera.
Conclusion
Disposable cameras offer a delightful mix of nostalgia, convenience, and high-quality photography, making them a fantastic choice for summer adventures. Whether you prefer the vivid colors of the Kodak FunSaver, the artistic flair of the Ilford HP5 Plus, or the waterproof capabilities of the AGFA LeBox Ocean, there’s a disposable camera to suit every need. So, grab one of these top picks, and let the summer memories begin!
By choosing the right disposable camera, you'll ensure your summer memories are captured beautifully, ready to be cherished for years to come. Happy shooting!
A Beginner's Guide to Using Disposable Cameras
Disposable cameras may seem like a relic from the past, but they're making a comeback in a big way. These simple point-and-shoot cameras offer a fun and accessible way to get into film photography, without the investment of a pricey film camera.
As a beginner in disposable camera photography, you might be wondering where to start and what to expect. In this guide, we'll cover everything you need to know to get started with disposable cameras, from choosing the right camera to developing your film.
Choosing a Camera
When it comes to disposable cameras, you have a few options to choose from. Most disposable cameras will have either 27 or 39 exposures, so think about how many pictures you want to take and choose accordingly. Some disposable cameras also come with flash, which can be useful in low-light situations. However, be aware that flash on a disposable camera often gives a harsh, direct light and might not be the best option for portraits.
Another thing to consider is the type of film the camera uses. Disposable cameras typically use 400 ISO film, which is good for general use, but if you're looking to capture more fine-grained images, you might want to look for a camera that uses 800 ISO film.
Composition and Lighting
When composing your shots, keep in mind the rule of thirds, which states that a picture is more visually interesting if the subject is off-center. Another thing to consider is the lighting. For example, using the flash on a disposable camera in low light or indoors can create harsh shadows and washed-out images. Try using available light or a lamp to create a more natural and pleasing effect.
Using the Camera
Using a disposable camera is simple, just point and shoot. However, there are a few things to keep in mind. First, don't shake or open the camera while you're still taking pictures, as this can cause light leaks and ruin your images. Second, be mindful of the number of shots you have left, so you don't run out of film unexpectedly.
Developing Your Film
Once you've finished using the camera, you'll need to get your film developed. Many pharmacies, department stores and camera shops will offer this service. Prices can vary, so it's a good idea to shop around. Another option is to develop your film yourself, although this requires some investment in equipment and chemicals.
Finally, it's important to keep in mind that with film photography, you're not going to get the instant gratification of digital. It can take a few days to get your film developed, but the wait is worth it. The beauty of film is that it captures a moment in time, not just an image.
Disposable Cameras are a Great Place to Start
In conclusion, disposable cameras are a great way to get started in film photography. They're simple to use, produce great results, and they're a fun way to explore creativity. With a little knowledge and some patience, you'll be on your way to capturing great memories with your disposable camera.
The Impossible I-1 Instant Camera - A Polaroid Film Camera
The Impossible I-1 Instant Film Camera has been out for a few years but its still an amazing device and takes great photos and Polaroid I-Type film is available everywhere!
I have a lot of instant cameras. It honestly is a real problem for me. They are all just so fun and cute! But among the dozens and dozens of modern and vintage instant cameras I own, there’s one instant film camera that is my absolute favorite! Today we are going to be talking about that camera, the positives, negatives, and everything in between!
What is the Impossible I-1 Instant Film Camera
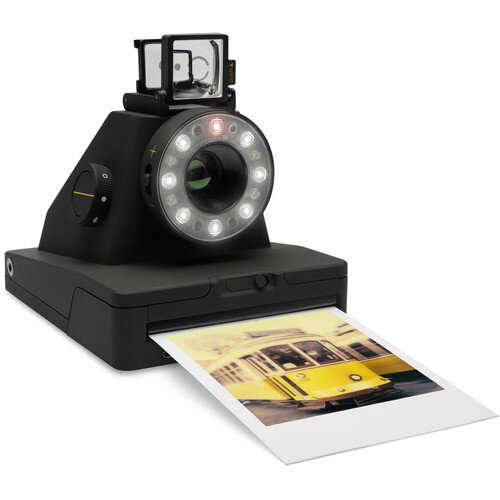
It was the first newly designed Polaroid instant film camera to be released in decades. The Impossible Project had been recreating Polaroid instant film for years when they decided to branch out into camera design. Its solid matte-black finish and really almost minimalist design made it unique in the world of colorful and find vintage instant cameras from polaroid and even the Fuji Instax cameras. The I-1 comes equipped with Bluetooth, an app for your iPhone or iOS device as well as Android, and for the first time in a Polaroid Camera, it comes with an internal, rechargeable battery. The I-1 can use Polaroid 600 film but was designed to use I-Type film, The Impossible Project’s film that came without a battery pack.
The Impossible I-1 has a built in LED flash system which produces a significant amount of light. The flash can be turned off using a switch on the side of the lens. There’s also an exposure adjustment switch on the other side of the lens with a + and - allowing you to make minor adjustments in the exposure level.
The Impossible I-1 Instant Film Camera Specs
Optics
Focal Length - 82-109mm
Aperture - f/10 to 67
Focus Type - Auto & Manual Focus
Minimum Focus Distanc - 1 foot/.3 meters
Exposure Control
Shutter Speed - 1/250 to 30 seconds
Flash
Built-In LED
General
Tripod Mounting Thread - 1/4”-20
Battery Type - Built In
Dimensions (WxHxD) - 4.3 x 5.7 x 4.3” / 10.9 x 14.5 x 10.9cm
Weight - 15.5oz / 439.4g
How Do You Use the Impossible I-1 Camera?
Using this camera is really easy, even if you’re completely new to instant cameras. Most of the cameras functions are automated by default, but can be overridden using the app. Here’s a quick run down on how to use the Impossible I-1 camera.
How do I Load I-Type or 600 Type Film?
Loading film into the camera is easy. There’s no difference in how you load the film, regardless of what type you are using. I-type and 600 type film load exactly the same way. On the front of the camera is a small slider switch. While holding the camera facing you, slide the switch to the right and then pull down on the front film door. Open your pack of Polaroid I-Type film or 600 Type film and slide the cartridge into the camera, narrow end first. Your film pack will reach a point where it stops sliding easily and appears to almost be in place. Give the pack one more little push, which will force the narrow plastic tab down on the front of the film cartridge. Now simply close the film door. The camera should automatically eject the dark slide. Once the dark slide is ejected, you’re ready to use your camera!
How do I take Pictures with the Impossible I-1 Camera?
You have a couple of options with the I-1 instant film camera. You can just use the camera and snap away, or you can use the app to take photos. Both options work great and mostly depend on what kind of photo you are trying to take.
To use just the camera, you turn the side rotary switch to the solid white circle, which turns the camera on. The LED ring flash will light up and indicate how many images you have left in your pack. From here, you can turn the flash off or on and adjust the exposure by using the switches on either side of the lens.
Once you have everything set, its time to frame up your picture. For me, this is the most frustrating part of using the camera. The viewfinder is a dual element device that requires you to align a smaller circle on the back element with a larger circle on the front element. It works but it just doesn’t feel precise to me. I find myself struggling to get it right sometimes. But it does always give me a pretty accurate image when comparing the picture to what I actually saw through the viewfinder. The viewfinder is held on magnetically so make sure that it is always snuggly in its correct position as it can be knocked off easily.
A screen shot of the Impossible I-1 Camera’s app as it appears on iOS devices.
Using the app to take photos is a little more complicated. The app allows for the following modes:
Remote Trigger
Manual Mode
Self Timer
Double Exposure
Noise Trigger
Light Paint
Color Paint
Additionally there’s a scanner mode that allows you to take a picture of your polaroid with your phone. There’s also a handy link to help you buy a new Polaroid Instant Camera under the “upgrade” button.
A screenshot of the app in manual mode.
Each of these modes is pretty much self-explanatory. I use the remote trigger quite a bit as well as the manual mode. I love the manual mode because it allows to make sure I’m getting the right exposure rather than wasting film. The manual mode uses your phones camera as a light meter and helps you to adjust the settings manually to get the exposure you want. Its very handy!
Double exposure is fun also, as is the light and color paint features. I’ve personally never used the Noise Trigger, but its a nice option to have.
Are There Any Problems with the Impossible I-1 Camera?
No camera is perfect, so definitely yes. After several years of use, I really only have two complaints about this camera. The first is the viewfinder, as I’ve already said it can easily be knocked off or the elements won’t extend all the way when you release them. It is a little difficult to use sometimes as well. But the biggest issues I’ve found is the internal battery. Every time I pick up this camera to use it, the battery is dead. Now this is probably completely my fault, but its just a pain to remember to put it on the charger ahead of time. I understand why Impossible designed the camera this way, but I can also see why Polaroid originally put the battery packs inside the film cartridges. If you just make sure and put this camera on the charger ahead of time, you’ll never have an issue!
If you’re having problems getting your images to come out, make sure you check our post about troubleshooting your Polaroid Film by CLICKING HERE.
A Few Impossible I-1 Camera Tips
Low-Light is not this camera’s friend - us it in places with lots of light!
Every time you power up the camera, the LED’s on the flash tell you how many exposures you have left in your pack of film
Double check your viewfinder to make sure it is on snuggly and that the elements are both in their full upright positions.
Charge your battery often!!!
Can I still buy an Impossible I-1 Instant Film Camera?
Yes! But finding one can be a bit tricky. They are available on Amazon for $199 in new condition. They are also available on Ebay for various prices ranging from $179 to over $250. You can find them in used condition in a lot of different places from Facebook Marketplace to Craigslist. These cameras haven’t been produced in several years so finding new cameras is only going to get more difficult as time goes on. But this is a great camera to have and has been extremely reliable and offers quite a bit of control over the image when shooting in manual mode with the app!
Where can I buy film for the Impossible I-1 Instant Camera?
It is actually available at a lot of different places! You can head on over to the Polaroid Website and by film directly from them! Or, check out my earlier blog post about “Where Can I Buy Polaroid Film” to find a shop near your or to order film online!
And when you get ready to put all of those amazing photos you’ve taken in to an album, read all about The Best Photo Album for Your Polaroids Here!
Disposable Cameras - Everything You Need to Know!
Disposable cameras are still around and they’re as fun and easy to use as ever!
Disposable Cameras in 2025
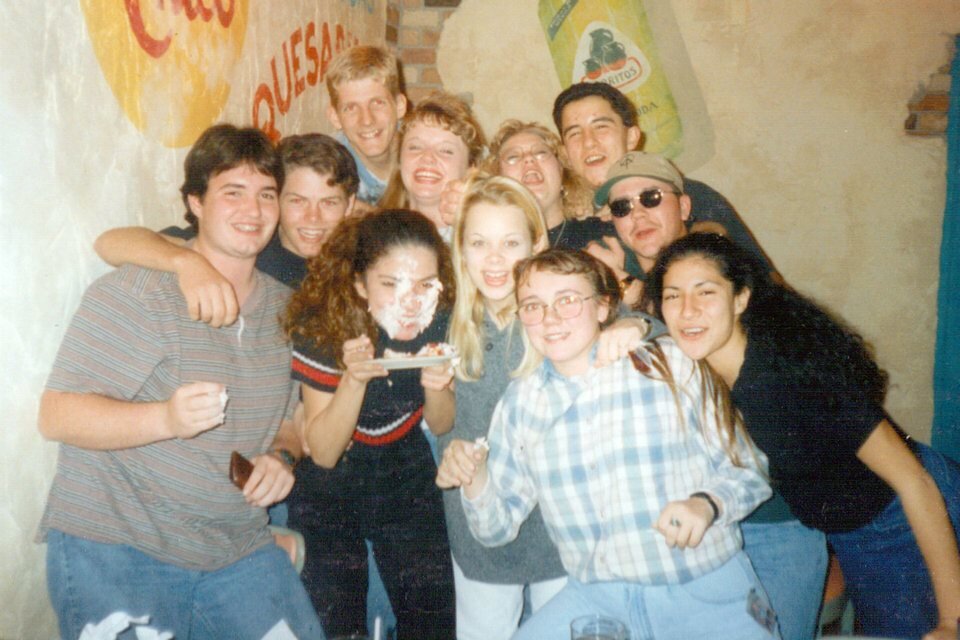
In the late 1990s, disposable cameras were all the rage. As a completely irresponsible teenaged high school student, my parents would have never trusted me their real camera, so every time I went on a trip or out with friends, I always had to stop and pick up a disposable so I could at least record a few of the moments from the event. They were available everywhere and getting them developed and prints made was easy. But then came camera phones, the internet, social media, and the film industry and infrastructure took a huge hit. People stopped using disposable cameras and companies stopped producing as many of them, but they never stopped producing them! You can walk into any Walmart or CVS or Walgreens and still pick up a disposable camera! And, let me tell you, they are still completely amazing! If you’ve never shot with one, you absolutely should! They are a great way to get into film and with the resurgence of film photography in the last few years, the infrastructure is building back up to get your images developed and scanned!
What is a Disposable Camera?
It’s a very simple, very cheap pre-loaded roll of 35mm film loaded into a plastic body with a simple mechanical shutter and film advance and some very basic electronics and a battery. Originally, they were made to simply be dropped off at the local film collection center so you didn’t even have to deal with disposing of the camera and they could be easily recycled. Nothing is adjustable - everything operates in a fixed mode. The lens is fixed and plastic, the aperture is fixed, the shutter speed is also fixed at around 1/100th of a second. The only variable is the film speed. You can usually purchase disposable cameras in ISO 200, 400, and sometimes 800. The flash is usually decently powerful and is normally off. You normally have to press a button to charge the flash before you click the shutter. The recharge button has to be pressed each time so that you can have the flash charged for each shutter click.
These cameras are still made to be taken/sent directly to a film lab for processing, but they can easily be processed at home and if you want to save money on postage when you send your film in, you can open up the camera and send the roll of film in by itself.
Disposable cameras all come loaded with film, there are several different options ranging from basic color to black and white to some crazy film stocks. Disposables come in a lot of different film speeds also, so it gives you a lot of flexibility
Where Can I get a Disposable Camera?
Disposable cameras are available at a lot of places! They are sold in-store at CVS, Walgreens, Walmart, and Target. Mostly these stores either carry a Fujifilm or Kodak disposable in a single pack, a multipack, and a waterproof model.
You can also pick them up online from Amazon and several other retailers. Amazon and other online retailers have a much better selection!
| Store | Description | Price |
|---|---|---|
|
|
||
| CVS | Fujifilm QuickSnap Flash 400 Camera | $14.99 |
| CVS | Fujifilm QuickSnap Flash 400 Camera, 2 Pack | $25.99 |
| CVS | FujiFilm QuickSnap Waterproof Camera | $23.99 |
| Walgreens | Kodak HD Power Flash Single Use Camera | $19.99 |
| Walmart | Fujifilm QuickSnap Flash 400 Camera | $14.96 |
| Walmart | Fujifilm QuickSnap Flash 400 Camera, 2 Pack | $24.96 |
| Walmart | FujiFilm QuickSnap Waterproof Camera | $11.75 |
| Target | Fujifilm QuickSnap Flash 400 Camera | $12.99 |
| Target | Kodak HD Power Flash Single Use Camera | $12.99 |
| Target | Kodak Water Proof Camera | $18.99 |
How Do You Use a Disposable Camera?
Disposable cameras are great because they are so very easy to use. The only thing you need to worry about is buying the right camera/film speed. Because the settings are all locked, there’s no flexibility in exposing the film. While you could maybe use a 200 ISO film in a darker room, an 800 ISO film might not be the best for a bright sunny day. Fortunately, the cameras are all labeled with what lighting environments they are best suited for. All you need to do is make sure you select the right one.
After that, you literally just point and shoot. The focal range is pretty big on these cameras. The biggest thing you need to remember is that the minimal focal distance is going to be your biggest concern. You can’t put the camera right in your face and expect the image to be in focus. Generally, I’ve found that about an arm’s length away is the minimal focal distance for these cameras. If you’re in the shade or a shady area, you should definitely always use the flash. In fact, even if you are out in the sun, use the flash any way as it helps to fill in the harsh shadows on the face. In most situations, you can never have enough light!
It is important to note that when you are taking a photo, looking through the viewfinder only gives you an approximation of the image you are taking. There is no optical view finder or ranger finder, its simply a hole in the top of the camera for you to look through. You need to take parallax into consideration when taking photos of objects close to you as it might change the final composition of the actual image.
Where Can I Get My Disposable Camera Developed?
There are still quite a few places out there that process film. Unfortunately, most of them are not local for the majority of us. I created a blog post talking about your options for getting your disposable cameras developed. Check out that blog post HERE! There’s a lot of great information there that will also help you with disposable cameras. Walmart, Walgreen, and CVS still process film, but you won’t receive your negatives back. Even if you’re new to film, one thing you need to know is that YOU ALWAYS WANT YOUR NEGATIVES BACK! If a service doesn’t return your negatives, don’t use them. If you have your negatives, you can reproduce the image as many times as you want. The digital scans are no replacement or substitute for the film negatives.
We also offer disposable camera processing! Unlike some of our competitors, we handle your images ourselves and we always return your negatives. Click HERE to get your order started! You can also send it off to a number of really great labs out there. Richard Photo Lab is great as well as The Darkroom. Almost all labs will give you scanning options as well as prints and other options. If you’re mailing your film in, you. might want to remove it from the camera so save on postage. If the lab you are sending your film to offers a pre-paid label, I would just send the whole thing in. Most labs have places to recycle the cameras and batteries and it beats throwing all of that away yourself.
How to Get Disposable Camera Pictures on Your Phone
Almost every lab the processes your negatives will offer scanning services. With The Darkroom, you can have your images scanned and they go to a gallery where you can download them onto any device, including your phone. I usually opt for higher resolution scans so that when I download them to my phone or tablet, I’m getting an image that’s decent enough quality that it could be printed. You can also purchase a film scanner yourself and scan your negatives. It is a little more work but it gives you a little more control over the scans and the final product.
Simple Use Vs. Single Use Cameras
There are two other types of cameras out there on the market which fall into the disposable camera family, in my opinion. Recently, Lomography.com released a new line of cameras call Simple Use Cameras which shared the design and simplicity of a disposable camera, but were made to be reloadable. Disposable cameras have to be essentially broken to get the film out and while you can reload and tape up the camera and use it again, it’s pretty much trashed. Lomography’s Simple Use Cameras come pre-loaded with film and are easily reloaded and reusable. The price for these cameras is significantly higher than traditional disposables, but you have to take the reusability into consideration when looking at the price.
Single-use cameras are merely a rebranding of disposable cameras. With sustainability and conservation being very popular some companies decided to move away from the disposable moniker because of negative connotations associated with the word disposable. Single-use cameras are no different than normal disposable cameras.
Disposable Cameras are So Much Fun!
I have a large number of cameras, both film and digital I can shoot from at any given moment, and I still love using these disposable cameras! They’re just fun and almost stress-free! And I love the look of the images they produce! These are great to give to the kids to take on trips but they're also great to grab and have some fun with friends. As a camera, they are way less intimidating than a mirrorless or an SLR, or even a cell phone. Anyone can pick one up and start shooting and that’s the magic of these cameras and why they have never gone away in spite of the roller coaster that film has gone through.
Jump on Amazon and check out what’s available or run down to your local Walmart and pick one up and have some fun! You won’t regret it, I promise!
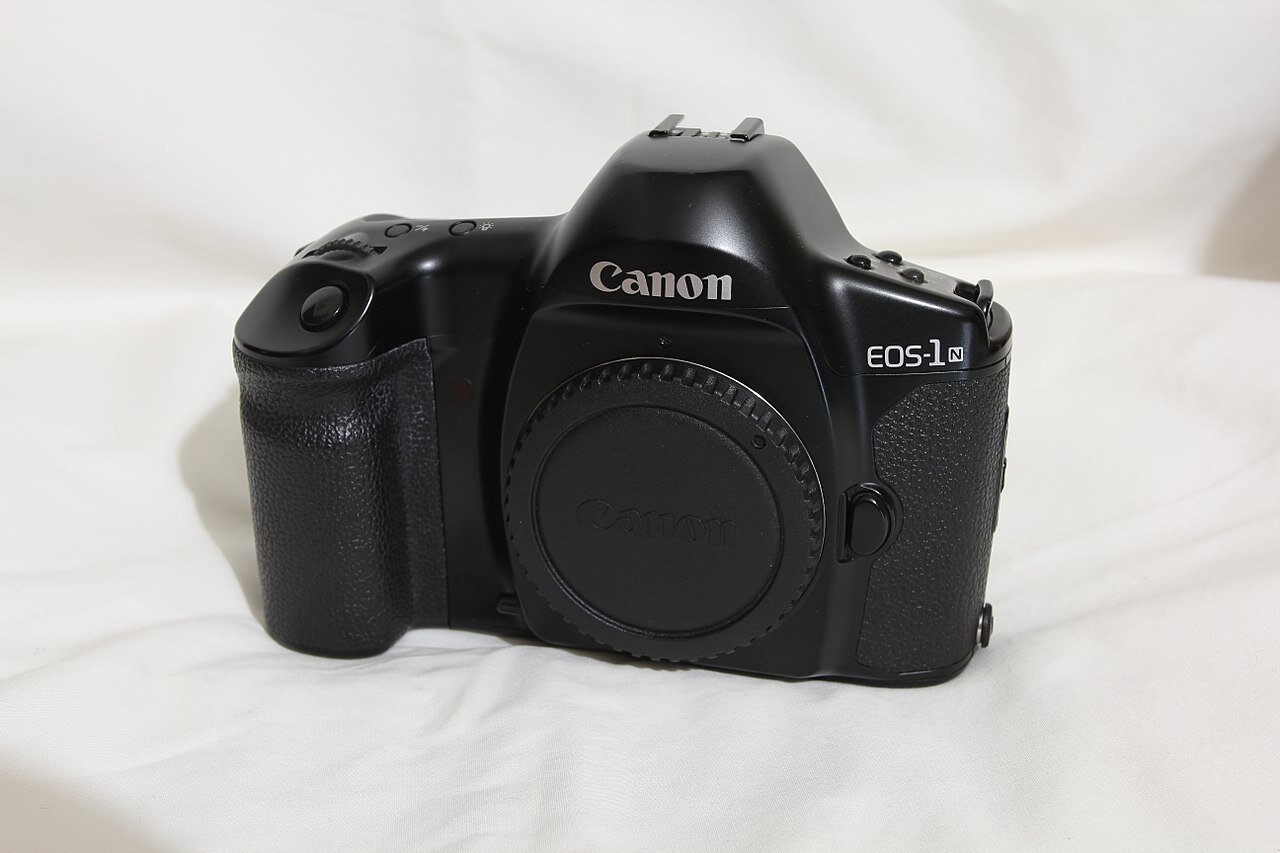
The Canon EOS 1N
If you’re considering picking up a Canon EOS 1N - this is a great camera to work with!
I own quite a few film canon film cameras. I enjoy using all of them from time to time, but the Canon 35mm film camera that I used the most is the EOS 1N. The familiar layout combined with the fact it uses all of the lenses I already own make it the camera I reach for first whenever I go out. If you’re considering getting into film or stepping up from an older Canon AE-1, then this is definitely the camera for you!
Canon EOS 1N Questions
If you’re considering a 1N, then you might have some questions. I’m going to start with a few common questions to hopefully help you find the information you’re looking for.
What kind of film does the Canon EOS 1N use?
The 1N is a 35mm film camera and can use ALL 35mm films in a standard film cartridge. Color, black and white, and specialty stocks all work great with this camera. Certain films might not have the ISO data encoded into the film and therefore you might have to set the ISO manually, but the film will still work fine in the camera.
What kind of lenses does the Canon EOS 1N use?
The 1N uses Canon’s very popular EF-mount. EF lenses are still in production and there is an abundance of used lenses out there on the market. Beside the option to buy new or used lenses, EF lenses from Canon also come in a broad range of focal lengths, prime and telephoto, as well as a broad range of glass quality from some very basic beginner lenses all the way up to their L-series glass which boasts some of the most beautiful optics in photography.
What kind of batteries does the Canon EOS 1N use?
The Canon EOS 1N body uses a 2CR5 battery. These batteries are available locally at battery and electronics stores and also available on Amazon. I’ve used the Panasonic 2CR5 as well as the Energizer 2CR5 and have had good results from both.
If you get a 1N with the optional BP-E1 battery pack then you could simply load AA batteries. These battery packs are no longer produced but if you can pick up a used one its a simple addition to your Canon 1N SLR.
Can I use a flash with the Canon EOS 1N?
Yes! All of the Canon branded flashes work great with the 1N. There are also several non-Canon flashes that work great with the camera and are much more affordable. You can pick up an older used flash or buy a brand-new one. The 1N utilizes TTL to help you get a better result while using a flash. I personally recommend the Canon Speedlight 600EX II-RT. It’s a little bit pricey, but the features and build quality make it totally worth the price!
Does the Canon EOS 1N have autofocus?
Yes! It features a 5-zone autofocus utilizing TTL phase detections. The focus zones consist of a series of five little boxes that are placed across the middle of the image. You select with zone you want to use and then place and half-press to focus. The autofocus is a little slow compared to more modern cameras, but it is accurate.
How much does the Canon 1N cost?
You can expect to pay between $100 to $350 for a used Canon 1N according to my research looking at Ebay, Facebook Marketplace, and a few used camera dealers. The condition of the camera affects the pricing the most.
Canon EOS 1N Review
I bought this camera as a compromise. I actually wanted a Canon EOS 1V, but the prices of the 1V were outside of my budget. I spent quite a bit of time looking at used camera sites and Ebay before I finally found a camera that was in good shape at a decent price. While I generally do love the camera, it does have a few issues. Here’s a breakdown of the pros and cons of the Canon EOS 1N:
Pros
Familiar form factor with other Canon SLR/DSLR bodies
Popular lens-mount (Canon EF)
Availability of both new and used lenses
Modern features like autofocus and TTL flash
Auto-winding film
Rugged design
Cons
Batteries are a little inconvenient to find sometimes
Battery has some connectivity issues (I have had to recently insert a piece of tape to keep the battery pressed against the contacts)
There’s a common issues with the shutter becoming stuck and not cycling, but is easy to fix (has only happened to me once when I first got the camera)
Focus is limited to only 5 zones and is a little slow (great for portraits, not so great for events…)
Should You Buy the Canon EOS 1N?
Absolutely! If you’ve already invested in the Canon eco-system, you can pick up a body and use all of your existing accessories, which is a huge win. If you’re just getting started but know you want to live in the Canon eco-system then anything you buy will work on all of the existing Canon equipment (with the exception of the newest mirrorless devices that use the new RF lenses). Also, if you’re interested in getting into film but don’t want to go the fully manual route that many of the older 35mm SLRs require you to take, then the 1N is a great camera at a great price-point that offers enough modern features to get you started. Just rotate the mode selection into P for Program and shoot away and you’ll get great results almost every time!
There are a lot of great features and specific settings that can help you get a lot out of the 1N - but honestly, I don’t use most of them. I mainly use mine for shooting 35mm film at weddings and special events when I need the speed of autofocus and the ability to use the lenses I already have with me. When I get an opportunity, I will also be picking up and Canon EOS 1V and will more than likely retire this camera. But its still a great workhorse and is dependable in spite of its age!
If you need more information, make sure and download the user manual below! It’s got everything you need to know about using the camera on a daily basis!
Check our Online Store for the Canon 1N
We occasionally carry these in our online store! Click here to see if we have any in stock!
Recommend Films to use with the Canon EOS 1N
If you’re a beginner, here’s some links to some great film to get you started with your Canon 1N.
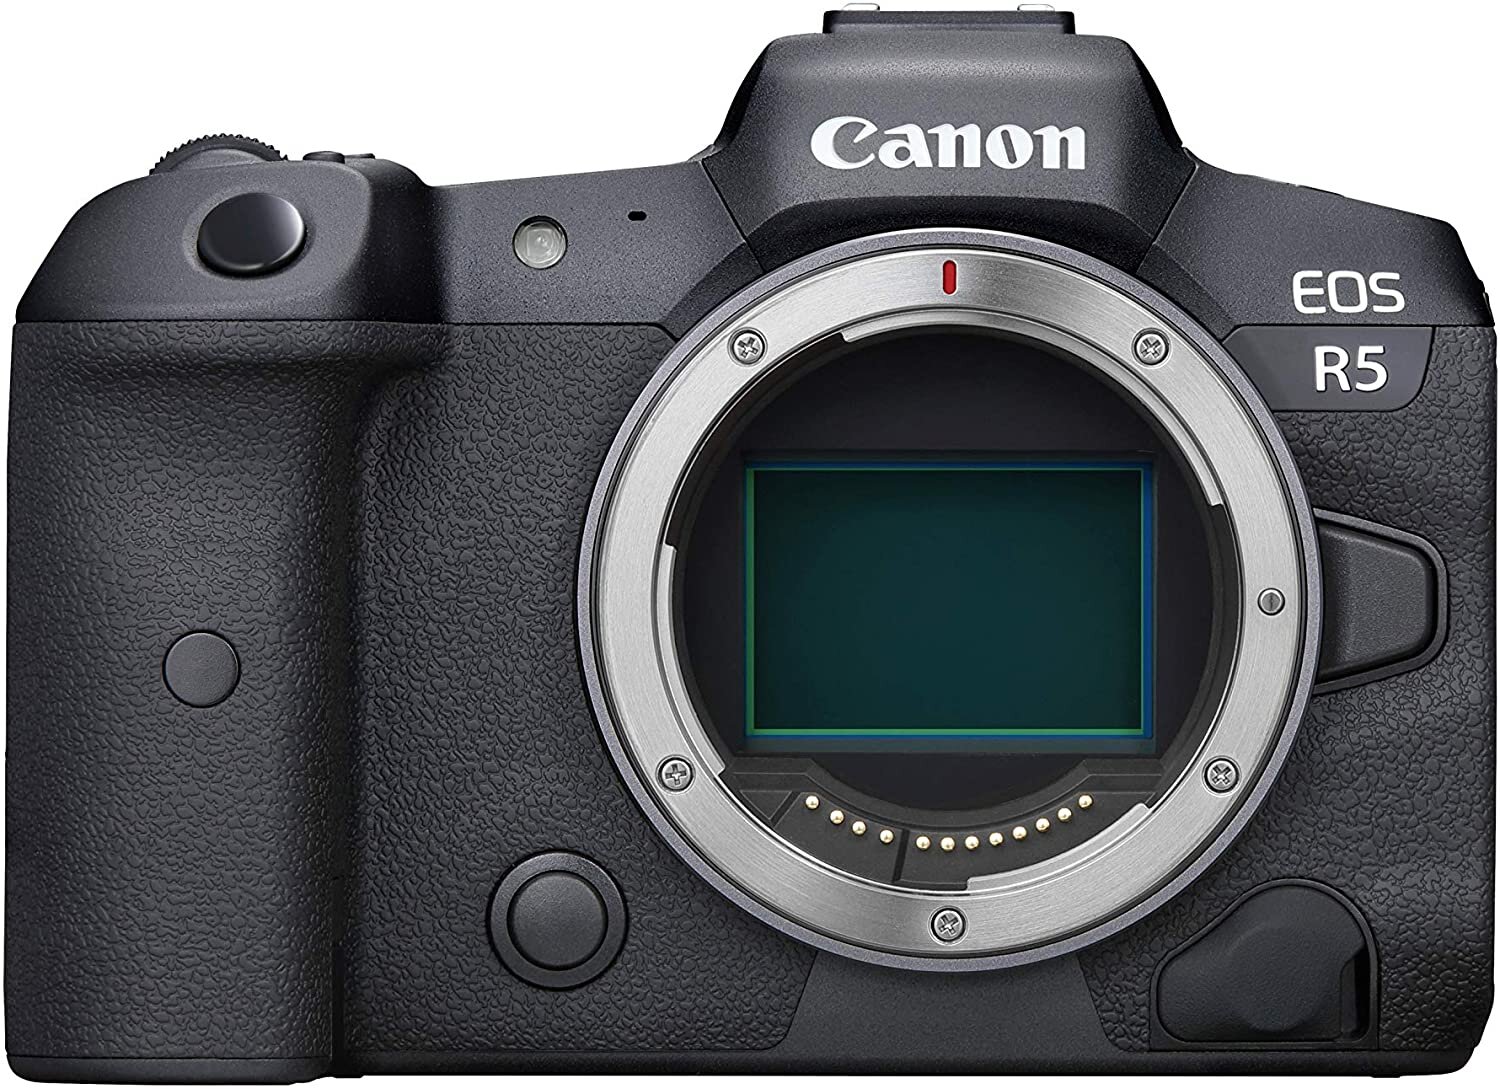
The Canon R5 Mirrorless Digital - 6 Months Review
There was a lot of hype about the Canon R5 when it released, but how has the camera held up during its first 6 months of professional use?
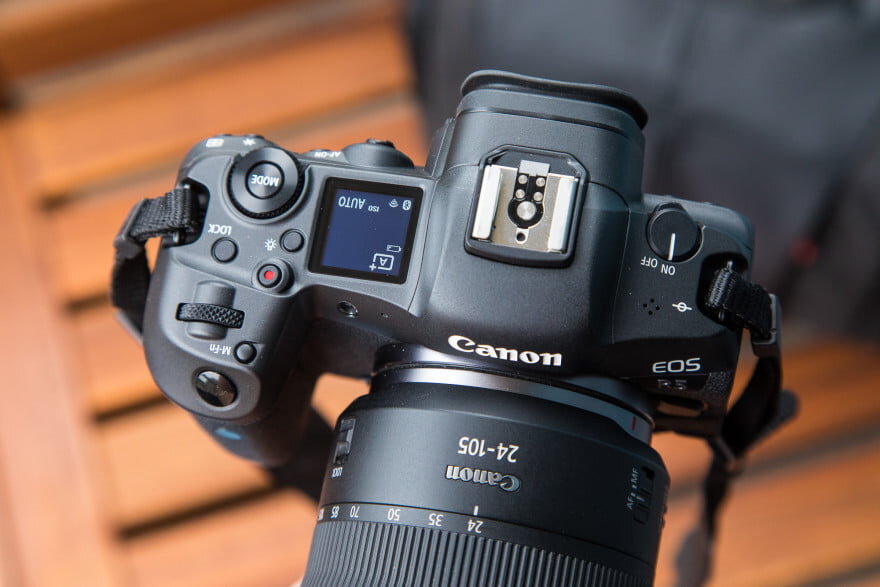
Back in 2020 when Canon finally announced the R5 and released the specs, it seemed like the perfect solution for me. I had been photographing weddings and events in low lights with my DSLR and to be honest, I was really tired of the focus struggle. I got a lot of really great shots that I had to just throw away because my Canon 5D Mark III just couldn’t find the subject to focus in time. Even in bright daylight, like when the bride was walking down the aisle it struggled to keep an accurate focus. It was frustrating.
To be honest, I hated mirrorless cameras. at my teaching job, we had a lot of Panasonic GH5’s and I just wasn’t a fan of the format. I hated, absolutely hated the EVF. The Panasonics were often buggy (they were school cameras so I’m sure the students had a lot to do with that). I had an opportunity to use a few Sony mirrorless cameras as well and I just hated the menu systems and the layouts. I loved my good ol’ Canon DSLR’s. I’d owned several of them and in spite of the flaws inherent to the DSLR, they were reliable and dependable and consistent and familiar. I knew what I was getting when I picked up my camera. And honestly, I was a little scared to drop the $3999 and make the switch to a whole new system.
First Impressions
So right out of the box, the Canon R5 was familiar, easy to set up and easy to use. It was an entirely new camera, but it was familiar. It’s like putting on a new pair of Chuck Taylor’s. They feel new, you know they are new, but they are just so so comfortable and familiar! The EVF is actually really amazing. It didn’t feel laggy at all. The focus system was easy to set up and seemed almost to be miraculous in how fast it could track and respond. My initial apprehensions melted almost instantly. I did have to buy new cards, which were kinda pricey. But there’s a good selection of CFExpress cards out there so I could make a choice from a selection. Of course, the R5 uses the new Canon RF glass, so that means a lot of new lenses were going to be needed. But I could worry about that later. I found a 24-105 RF for sale on craigslist, it was practically new and was at a really good price so I jumped on it to save myself a little money. That lens in the EF version had been a good lens for a lot of events I had worked so I was happy with it.
Time to Get to Work…
The first thing I shot with the camera was my son’s third birthday party. I used a Profoto A1X flash inside of our house and the results were good. I had to make a few changes to the settings as I wasn’t getting exactly what I wanted out of the camera. I did a family photography session the next week and got much better results. The auto eye focus was a huge pain in the butt for family group shots, so I had to change that for that shoot but the images turned out really great. One thing did pop out the more I used the camera; the skin tones were looking very much different and contained so much more data, I honestly was frustrated at first but I realized that I was going to have to up my lightroom/capture one game to get the most out of this camera.
Speaking of post production, the file sizes were huge. More space was required for each event’s photos and import and export times took a lot longer. But the images, the quality, and the details were amazing and crisp. It’s totally worth the extra time! In Lightroom and Capture One, I had to make a lot of adjustments to my work flow. I had been using my Canon 5d MkIII for so long correction and color were just like second nature. The colors that this sensor produces still fall into that beautiful Canon color space, but they are different. Different in a much better way, but different.
In the past 6 months I’ve shot several weddings and mini-sessions and events and I feel like I’ve really gotten a good feel for what this camera can do!
The Things I Don’t Like
Autofocus is like a million times better. But sometimes, all the technology gets in the way of getting the shot I want. I’m still tweaking settings and figuring things out, but there are still some times when I want the autofocus to do one thing and it does something completely different.
The paint on the body also seems to be a little thin. Or least not as resilient as other Canon bodies I’ve owned. I already have a couple of scratches in the paint from some very minor minor events. I was really really disappointed in that. I literally abused my 5dMKIII and have very few marks at all on it. My R5 is already marked up pretty good for a 6 month old camera.
Also, I might be inclined to complain about the battery life a little bit. I do not get as many shots out of each charge. Its not enough to really complain, but it is a noticeable difference. You are definitely going to need a couple of extra batteries if you’re going to be shooting all day.
The Things I DO Like
Literally everything else! The camera is amazing. The smaller form factor and decreased weight is amazing. The menus, easy of use, consistent performance, and the amazing autofocus make this camera worth every single penny. I’ve gone from have to cull about 1/3 of my shots for focus to having a hard time deciding which of the 10 perfectly focused images of the same thing I want to use. I had gotten into the habit of spamming the shutter button in low-light situations in the hopes of getting a good shot. Now I find that I have to calm my photographer anxiety and just take a couple of shots.
Conclusion (Plus I Should Mention the Video)
Overall, this camera was a definite win for me. This camera had gained quite a bit of notoriety because of the overheating issues, but I’ve used this camera to record lots of different things and haven’t had a single issue with over hearting. And the video quality is amazing. I was never impressed with the Canon 5d MKIII’s video quality. I didn’t want to upgrade the 5D MKIV just for the video, so having a DSLR that I can use for my primary shooter AND still be able to get some really great quality video with is a huge plus!
If you’re on the fence about switching to mirrorless, you can take a deep breath and take the plunge, Canon has delivered with a solid camera! The numerous benefits of the new system far outweighed the reasons I kept justifying my need to stay with the ol’ DSLR’s. I still used my old camera, and it still familiar and faithful, but now when I pick it up and use it, I find myself feeling limited in what I can do. The mirrorless camera is a fantastic improvement and is still in its infancy! As the format and technology grows, there’s no telling what future features may come out!
Buy one TODAY!
Amazon has a competitive deal on the R5. Click the link below to check it out. If the R5 is out of your prince range, you should definitely consider the Canon R6 and the Canon R. I’ve never actually shot with the R6, but its so closely related to the R5 I don’t feel like you will have much of a varied experience. I have shot with the R and can tell you it is a really great little camera. In fact, using the R was the last straw that convinced me to pre-order the Canon R5. Click the Amazon links below to check out those cameras as well!
If you’re interested, you can check out the Tech Specs for the camera below!
Type
Type
Image Processor
Compatible Lenses
Lens Mount
Image Sensor
Type
Effective Pixels Sensor Size
Pixel Size
Total Pixels
Aspect Ratio
Color Filter System Low Pass Filter
Digital single-lens non-reflex AF/AE camera DIGIC X
Canon RF lens group (excluding EF, EF-S and EF-M lenses)
When using Mount Adapter EF-EOS R: Canon EF or EF-S lenses (excluding EF-M lenses)
Canon RF mount
CMOS sensor (compatible with Dual Pixel CMOS AF) Approx. 45.0 megapixels
Approx. 36.0 x 24.0 mm
Approx. 4.40 μm square
Approx. 47.1 megapixels
3:2 (Horizontal: Vertical)
RGB primary color filters
Installed in front of the image sensor, non-detachable
Recording Media
CFexpress card
• Type B: Card slot
SD card
• SD card speed class-compatible.
• Compatible with UHS-II
• Eye-Fi cards and Multimedia cards (MMC) are not supported.
Dust Deletion Feature
(1) Self Cleaning Sensor Unit
• Removes dust adhering to the low-pass filter.
• At power off only / Enable / Disable. Performed automatically (taking about approx. 2 sec. as indi- cated on the screen) or manually (taking about approx. 8 sec. as indicated on the screen).
After manually activated cleaning, the camera will automatically restart (Power OFF to ON).
When [Multi Shot Noise Reduction], [Multiple exposures], or [HDR mode] is set, [Clean now] and
[Clean manually] cannot be selected.
(2) Dust Delete Data acquisition and appending• The coordinates of the dust adhering to the low-pass filter are detected by a test shot and appended to subsequent images.
The dust coordinate data appended to the image is used by the EOS Canon Digital Professional
Software (v. 4.14 and higher) to automatically erase the dust spots.
Not available with EF-S lenses, in cropped shooting or multi-exposure shooting.
(3) Manual cleaning (by hand)
1
Recording System
Recording Format Image Format
Compliant to Design rule for Camera File system 2.0 and Exif 2.3*. *Supports time difference information in Exif 2.31.
JPEG, HEIF, RAW (CR3, 14 bit RAW format), C-RAW (Canon original); Movies: ALL-I, IPB, RAW
HDR Mode- Continuous Shooting
(1) 1 shot only
(2) Continuously
(3) Multiple Exposure
Advanced shootingoperations
(1) Focus Bracketing (2) Interval Timer
(3) Bulb Timer
(4) Multi-Shot NR
File Size
3:2 Aspect Ratio Large/RAW/C-RAW: 8192 x 5464 Medium: 5808 x 3872
Small 1: 4176 x 2784
Small 2: 2400 x 1600
1.6x (Crop)*
Large/RAW/C-RAW: 5088 x 3392 Small 2: 2400 x 1600
4:3 Aspect Ratio
Large: 7280 x 5464 Medium: 5152 x 3872 Small 1: 3712 x 2784
Small 2: 2112 x 1600 RAW/C-RAW: 8192 x 5464
16:9 Aspect Ratio
Large: 8192 x 4608 Medium: 5808 x 3264 Small 1: 4176 x 2344
Small 2: 2400 x 1344 RAW/C-RAW: 8192 x 5464
1:1 Aspect Ratio
Large: 5456 x 5456 Medium: 3872 x 3872 Small 1: 2784 x 2784 Small 2: 1600 x 1600 RAW/C-RAW: 8192 x 5464
• Values for Recording Pixels are rounded to the nearest 100,000 or 10,000.
• For RAW and JPEG images, information outside the cropping area is not retained. • JPEG images are generated in the set aspect ratio.
• RAW images are generated in [3:2], and the set aspect ratio is appended.
* Indicate an inexact proportion.
2
File Numbering
The following file numbers can be set: 1. File numbering methods
a. Continuous numbering
i. The numbering of captured images continues even after you replace the card.
b. Auto reset
i. When you replace the card, the numbering will be reset to start from 0001. If the new SD
card already contains images, the numbering will continue from the last recorded image in
the card. 2. Manual reset
a. Resets the file number to 0001, and creates a new folder automatically.
* When manually resetting the file number, folders can also be renamed.
RAW + JPEG / HEIF Simultaneous Recording
Simultaneous recording of any combination of RAW/C-RAW and JPEG/HEIF image-recording quality is supported.
Color Space
Selectable between sRGB and Adobe RGB
Picture Style
(1) Auto
(2) Standard
(3) Portrait
(4) Landscape
(5) Fine Detail
(6) Neutral
(7) Faithful
(8) Monochrome
(9) User Defined 1–3
• In Scene Intelligent Auto, [Auto] will be set automatically. • [Standard] is the default setting for [User Def. 1–3].
White Balance
Settings
(1) Auto (Ambience priority/White priority) (2) Daylight
(3) Shade
(4) Cloudy*
(5) Tungsten light
(6) White fluorescent light (7) Flash
(8) Custom (Custom WB)
(9) Color temperature
* Effective also in twilight and sunset.
Auto White Balance
Type Coverage
Magnification / Angle of View
Eye Point
Dioptric Adjustment Range
Option between ambience priority and white priority settings.
OLED color electronic viewfinder; approx. 5.76 million dots resolution
Approx. 100% vertically and horizontally relative to the shooting image area (with image quality L, at approx. 23mm eyepoint).
Approx. 0.76x / Approx. 35.5 degrees (with 50mm lens at infinity, -1 m-1) Approx. 23mm (at -1 m-1 from the eyepiece lens end)
Approx. -4.0 to + 2.0 m-1 (dpt)
White Balance Shift
Blue/amber bias: ±9 levels
Magenta/green bias: ±9 levels
Corrected in reference to the current WB mode’s color temperature.
Viewfinder
3
Viewfinder Information
(1) Maximum burst
(2) Possible shots/Sec. until self-timer shoots
(3) Focus Bracketing/ Multiple-exposure/HDR shooting/Multi Shot Noise Reduction/Bulb time/Interval
timer
(4) Shooting mode
(5) AF method
(6) AF operation
(7) Image quality
(8) Card
(9) Drive mode
(10) Metering mode
(11) No. of remaining shots for focus bracketing, multiple exposures, or interval timer (12) Electronic level
(13) Movie recording time available
(14) Battery level
(15) Image Stabilizer (IS mode)
(16) Histogram (Brightness/RGB)
(17) Quick Control button
(18) Anti-flicker shooting
(19) White balance/White balance correction
(20) Picture style
(21) Auto Lighting Optimizer
(22) Still photo cropping / Aspect ratio
(23) AF point (1-point AF)
(24) AEB/FEB
(25) View Assist
(26) HDR PQ
(27) Flash ready / FE lock / High-speed sync
(28) Electronic shutter
(29) Touch shutter / Create folder
(30) AE lock
(31) Shutter speed / Multi-function lock warning
(32) Aperture value
(33) Wi-Fi® function
(34) Wi-Fi® signal strength
(35) Bluetooth® function
(36) Exposure simulation
(37) Magnify button
(38) ISO speed
(39) Highlight tone priority
(40) Exposure compensation
(41) Exposure level indicator
Autofocus
Focus Method Dual Pixel CMOS AF
Number of AF zonesavailable for Automatic Selection
AF area: Horizontal: Approx. 100% x Vertical: Approx. 100% Stills: Max. 1053 zones (39 x 27)
Movies: Max. 819 zones (39 x21)
AF Working Range
EV -6 to 20 (f/1.2 lens*, center AF point, One-Shot AF,at 73°F/23°C, ISO 100) * Except RF lenses with a Defocus Smoothing (DS) coating.
Focusing brightness range
(in movie recording)
8K: EV -3 to 20
4K / Full HD: EV -4 to 20
With an f/1.2 lens*, center AF point, One-Shot AF,at 73°F/23°C, ISO 100 * Except RF lenses with a Defocus Smoothing (DS) coating.
4
AF Methods
AF Method
Face+Tracking AF Spot AF
1-point AF
Expand AF Area
(Above, below, left and right/Around)
Zone AF
Large Zone AF: Vertical, Horizontal
Subject to Detect
People, Animals, No Priority
* Available with [AF method] set to Face+Tracking, Zone AF, or Large Zone AF (vertical/horizontal)
Exposure Control
Metering Modes
Real-time metering with image sensor (384 zones [24x16 zone metering]) (1) Evaluative metering (AF point-linked)
(2) Partial metering (approx. 6.1% of the area at the center of the screen) (3) Spot metering (approx. 3.1% of the area at the center of the screen) (4) Center-weighted average metering
Metering Range EV -3 – 20 (at 73°F/23°C, ISO 100) (Still Photo Shooting)
Exposure Control Modes
(1) Scene Intelligent Auto
(2) Flexible-priority AE (Fv)
(3) Program AE (P)
(4) Shutter-priority AE (Safety shift possible) (Tv) (5) Aperture-priority AE (Safety shift possible) (Av) (6) Manual exposure (M)
(7) Bulb
(8) Custom shooting mode C1, C2, C3
Announcing Our New Online Film and Vintage Camera Store!
We cannot get enough of shooting photographs on film. It is truly a magical experience and requires so much more presence in the process. But if there’s one thing that’s been a huge headache when it comes to shooting film, its getting the supplies and equipment you need out here in rural east Texas. After years of ordering film online and waiting a few weeks to get it, or looking for a camera only to have to buy it from someone who wasn’t even sure if it worked, we’ve had enough and we wanted to find a solution that would help us as well as our community of growing film photographers here east of DFW.
Beginning Friday, April 24th, we will begin to offer select film stocks available for local pick-up or delivery through mail. Our selection of film will be limited at first but we will be growing our selection as quickly as we can develop the supply chain. Initially, we will be offering Kodak films but hope to grow to stock some more obscure and interesting film stocks. We are also expanding our developing services so that you can drop of your film and get it back the next day.
We are also offering vintage film cameras, that have been thoroughly inspected and tested to ensure everything is working properly. You can purchase your next film camera with confidence knowing that it will work properly instead of hoping what you bought on Facebook Marketplace works. We will be offering a wide range of cameras, from point and shoots to DSLR’s in 35 mm, medium format, and Polaroid formats. The selection will of course depend on availability, so check our online store often to see what we have in stock!
We are putting the final touches on our online store and website today and everything should be live tomorrow (Friday, April 24th).
I Want to Buy a New Camera, Which One Should I Get? - Part 1
I get this question a lot. Having been trying at photography for such a long time now people who have no idea where to start with cameras have often come to me for advice. And over those years, my advice has changed. In the beginning, I was a hard-core gear-head. I told people that they should spend a lot of money and get expensive and complicated cameras because that is what I was trying to do. Honestly, it was bad advice. Since I've started, I've wanted every new camera that has come out. I've watched every review of every new piece of equipment on youtube. Heck, I've even added a lot of cameras to my cart on online stores just to see what the cost with shipping and some of the options I was wanting would cost. I've shopped for and used a lot of cameras over the years and I'm here to tell you that I've finally settled on a philosophy for the eternal question, "which camera should I buy" and I want to pass on what I've learned to you!
Where to start...
Deciding on a camera that is going to be best for you really starts with asking yourself a few simple questions. The trick however, is in being very honest and objective in answering these questions. Honesty here is going to make all the difference and could save you thousands of dollars! You could easily spend too much and get a camera that you cannot figure out how to work and get terrible pictures. Or, you could spend too little and get terrible picture quality. Or you can just get the wrong camera for your application all together and just stay frustrated because the pictures you are getting don't look good at all. When it comes to cameras, honesty is the best place to start.
How Much Do I Have to Spend?
This is the most important question you can ask yourself. There is a belief out there that if you spend more money on your camera, that you are going to get better pictures. This couldn't be further from the truth though. I've taken some really fantastic pictures on some really crappy cameras and lenses. Your skill and ability are the true determining factors of what makes a good picture. Equipment is a secondary factor. I know so many people who have gone out and dropped $1000 to $6000 on cameras and gear and their pictures are absolute trash! Then they are disappointed and the brand new camera sits in a closet for years. "Oh, you're a photographer! I bought a camera a few years ago and I took a few pictures with it but now its just sitting in the back of my closet." I've seen a whole lot of brand new cameras that have hardly been touched. So sad :( Set your budget and stick too it. Don't get sucked into the features or the megapixel trap. Megapixels don't make better pictures either! There is always a lot of upselling in the camera world so don't get trapped and spend more than you intended. I promise you'll regret it later!
What am I Going to Use this Camera For?
Knowing this in advance helps a lot! If you've going to be shooting a lot of stock shows, you need a camera that's good at low-light. If you're going to be taking photos of sporting events, you need a camera with a long optical zoom and a fast shutter. If you're going to try to do some professional photography you will need a camera with some options to that you can do a variety of work with your tools. Now, video capabilities are also something to be considered and the quality of video and audio have to be examined as well. Make a check-list of everything you think you might use the camera for, and prioritize them for clarity. There is no one magical camera that does it all. Just like you can have a smooth ride and great gas mileage in a car but can't haul a travel trailer you can't get every thing in every camera, you have to pick and choose. After you make your list and feel pretty confident start with good old fashioned googling to see what cameras work best for what your number one priority was and just go from there!
What am I Going to do with the Pictures I Take?
Let's be honest, no one really prints photos any more. Most of us are just going to post them to social media or email to friends and family. Sometimes they just sit on a card or a hard drive indefinitely. If you aren't going to be printing images, you need to consider how you are going to store the images long term. A camera with a lot of megapixels is only going to produce really large files and you have to find a way to store them. Also, do you have a way to transfer the photos easily from my camera to my computer or phone? Wifi or cable connection or card slots are an important thing to look in to before you purchase a camera. So many times people pull their cameras out and find out after taking their third picture that the data card is full, and they really can't delete any of the existing pictures because they haven't downloaded them yet. Keep your workflow and convenience in mind when it comes to digital storage. If you are interested in printing your photos, then more megapixels might actually help you get better prints if you are looking to print larger than 8x10's. Printing and producing physical photos is making a comeback so this may be an actual thing you need to think about when purchasing a camera. If you go into a store, take an SD card with you and put it in the display cameras and take a few photos and then take them home and print them and see which ones turn out the best! Its a great free way to try out the camera without making a purchase!
Something to Think About...
I hope I've given you enough to think about for a little while. My next post will focus on some of the actually differences between the types of cameras to help you get a better understanding of which camera may work better for you!


